Assign a descriptive name to a range of cells using a named range in Excel. Use it to create easy-to-understand formulas.
What is a named range?
Named range enables you to add an easily memorable name to a cell or range of cells. From now, you can write much better formulas, and it is easy to manage your Worksheet objects. Instead of using complex cell references, use names, and create a structured reference.
How to create a named range in Excel
In a few steps, this section will show you two methods to add a name to a cell or a range.
Using the Formulas Tab
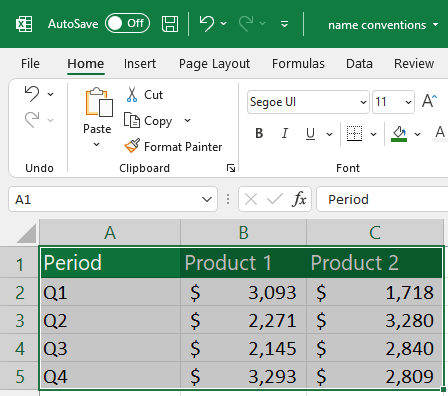
1. Select the cell or cell range that you want to name.
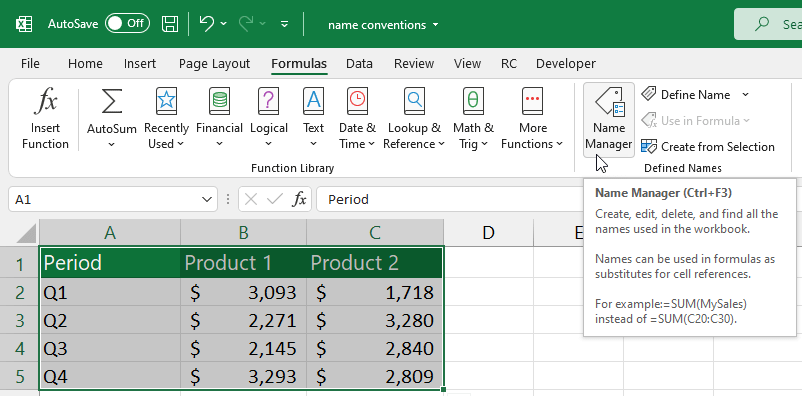
2. On the Ribbon, select the Formulas tab and click Define Name. You can find it under the Defined Names group.
3. Click New.
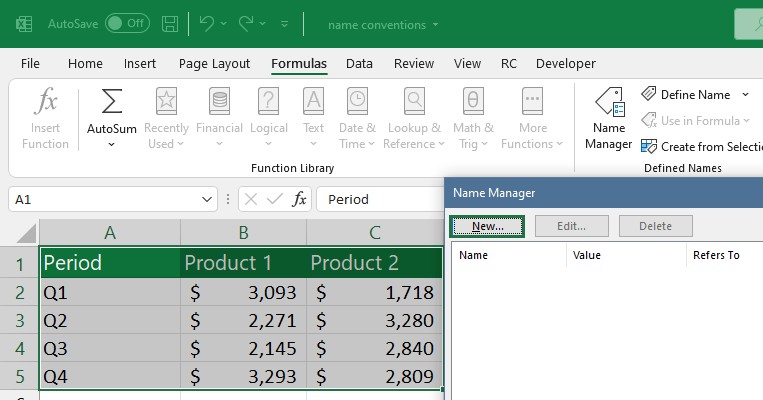
4. The New Name dialog box appears.
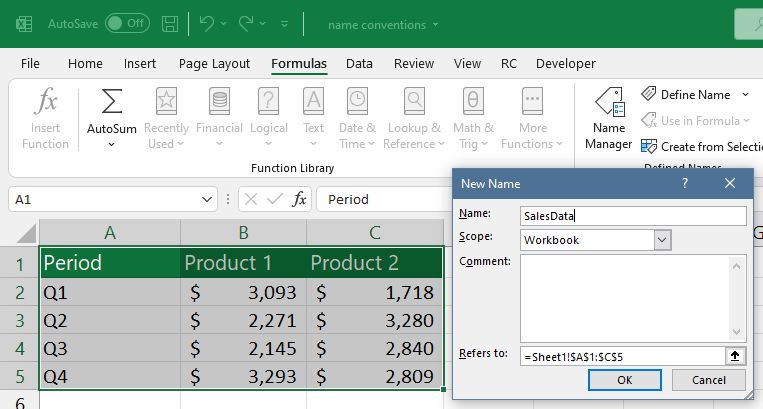
5. Click OK
Tip: if you are familiar with Excel Shortcuts, use the Ctrl + F3 shortcut to open the name manager.
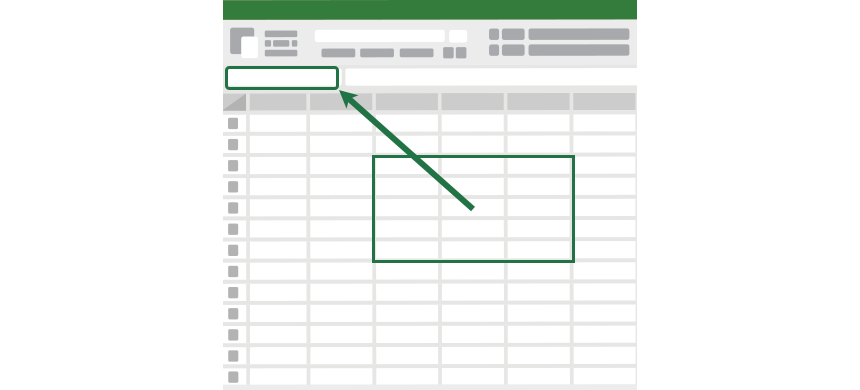
Using the Name Box
The name box is a great Excel function for working with ranges. You can find the name box on the left side of the Formula Bar.
1. Select the cell or range that you want to use
2. Click on the Name Box and add a descriptive name for a range
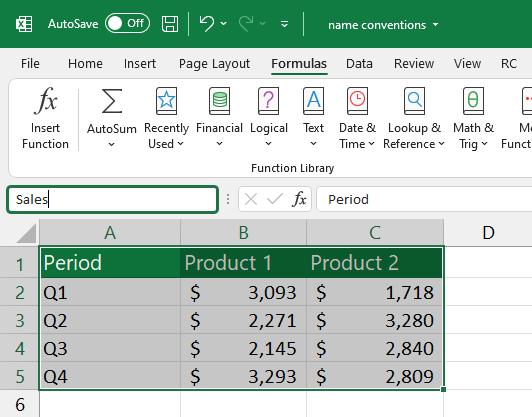
3. Press Enter
Tip: We prefer the Name Box method. It is faster than using the Formulas Tab.
Name conventions and rules
- The maximum length of the name that you can add in the text box is 255 characters.
- Use upper and lower characters; the description of the named range is not case-sensitive
- Begin the name using a letter, underscore, or a backslash
- The space character is not allowed
- Don’t use a cell address for a name
Here is a table with a few examples:
